A WordPress theme is responsible for the look and feel of your WordPress site. There are plenty of free and premium WordPress Themes. As a newbie, you might face difficulty in installing a WordPress theme. So, here is our step by step guide for beginners that will show you how to install a WordPress theme. It takes a few simple steps in installing a WordPress theme and then you will get a brand new and attractive look of your WordPress blog. There are three different ways to install a WordPress theme:
- Automatic Installation: Using WordPress Admin Panel search option.
- Semi-Manual Installation: Using upload method from WordPress Admin Panel.
- Manual Method: Using FTP manager.
In this article we will cover only two methods. Since this guide is for beginners, FTP manager method is not true for them. This method is a little bit advanced so beginners will find it difficult when they install a theme using this method. We will cover this method in a separate post.
Install a theme using search option from WordPress Admin Panel
If you’re looking for free WordPress themes that are available in WordPress.org theme’s directory then this is the best and easiest method for you. To install a theme using search method, first login to your WordPress Admin area. Click on Appearance >> Themes in your WordPress Admin panel. 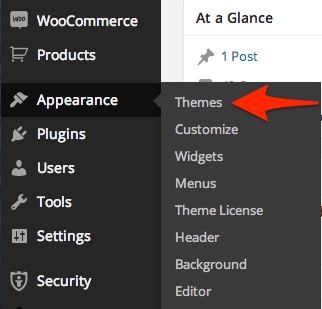 You will see the screen like below screenshot:
 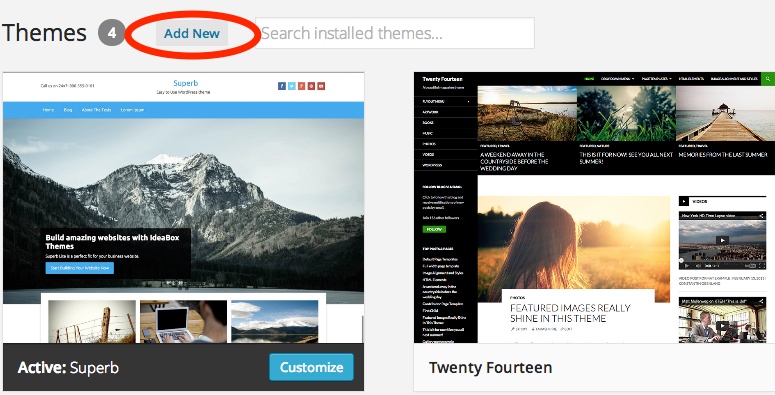 Click on Add New button at the top of the page. Once you click on Add New button you will see different options like featured themes, popular themes and latest WordPress themes. You can find your theme with the help of these categories.
 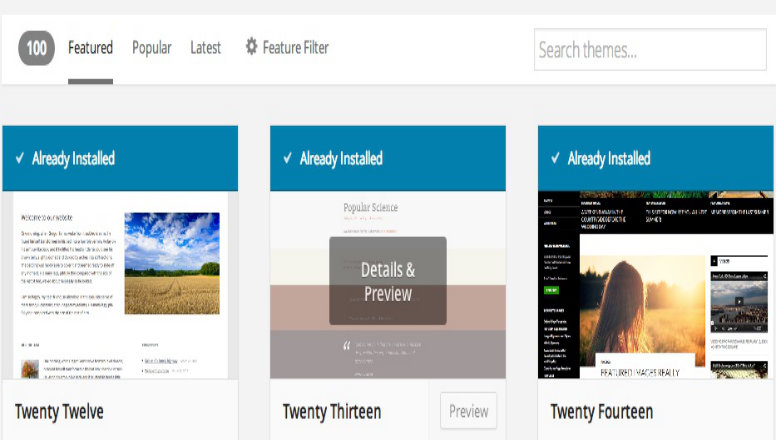 You can also find a search option in the top left corner and search a theme you wish to install. In this guide we search for Prism WordPress theme as an example. Prism is a one page WordPress theme, you can check the details here. Once you search your theme you will see the list of themes on your screen. Bring your mouse on the image of the theme. You will see Install button, Preview Button, Detail Button like below screenshot:
 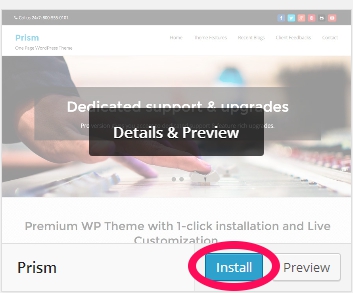 Click on Install button. Once you click on Install button you will see the result like this:
 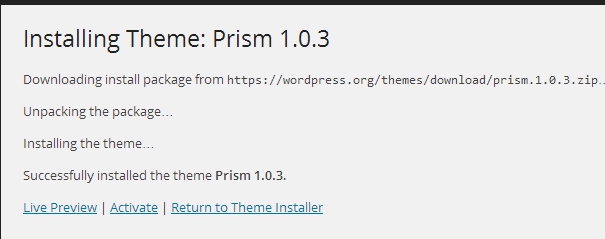 Now click on Activate option and your theme is successfully installed and activated on your WordPress blog. Every theme has different settings so you can configure these settings as per your requirement.
Install a theme using Upload method
If you want to install any premium WordPress theme then this method is suitable for you. You can also use this method when you download the .zip file of any theme from WordPress.org. To install a theme using this method you need to download the .zip file from the source. Once you download .zip file login to your WordPress Admin area. Click on Appearance >> Themes. When you do this a theme page will appear where you will see Add New button at the top of the page. Click on that Add New button. Once you click on Add New button you will see the page like below screenshot: 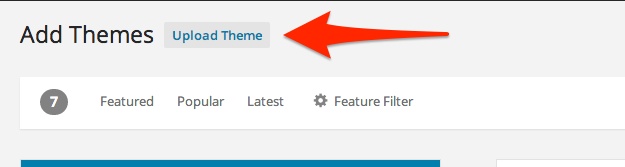 Click on Upload Theme button at the top of the page. You will see the page asking you to browse .zip file of your theme and upload it.
  Once you browse the .zip file click on Install Now option and your theme is successfully installed on your WordPress blog. After the installation of theme you can activate the theme and configure the settings of the theme according to your need. Remember that this upload method is not for WordPress.com users. This method is available only for self-hosted WordPress.org users. I hope this guide helped you in successfully installing your WordPress theme. If you have got any questions, feel free to ask in the comment section.