Webify is a multi-purpose WordPress theme deigned for all kind of websites like local business, online shopping, non-profits or anything else you can think of.
The theme has been designed to be completely responsive and displayed on all kind of devices. Some of the important features of Webify are:
- Completely mobile responsive.
- Unlimited color schemes.
- Custom header image upload.
- Background Image upload.
- Pre-loaded with demo content.
- Integrated with WooCommerce and EDD.
You can see full feature list of Webify from here.
This article will cover all features Webify that make you understand about how to use the Webify WordPress theme for your WordPress website.
How to install Webify WordPress theme?
Webify is a free WordPress theme and you can download it from here.
After downloading the theme, upload it to your website and activate it. You can also see our previous post on how to install a theme on WordPress.
How to setup Static front page?
Once you’ve installed the Webify theme on your website, you need to create static page on your website. Webify uses static front page and to setup a website like demo site, you need to follow the below steps:
- Create a page as “Home page” and publish it.
- Create another page as “Blog” and publish it too.
- Go to Settings >> Reading.
- Now select Front Page Displays as A static page (select below).
- Select Home page as front page and Blog page as post page. You can see it in below screenshot:
Webify WordPress theme is pre-loaded with demo content. So when you set static page on your website you’ll see demo content on your website.
How to customize Webify theme?
Webify has user-friendly features and live customization feature that makes customization and setup process super easy.
To customize Webify theme, navigate to Appearance >> Csutomize in your WordPress admin area. Alternatively, you can reach to the front end of your website and click on site name. You’ll see Customize option in drop down menu. Click on it.
Once you click on Customize option, you’ll see sidebar panel on the left hand side of your website like below screenshot:
Since Webify has live customization feature that allows you to customize every feature without refreshing page. If you make any changes to your theme, it will be visible on your site simultaneously.
1. Site Title and Tagline
Set title and tagline of your website according to your website identity. If you want to display to display header text then check the Display Header Text option. You can see result like below screenshot:
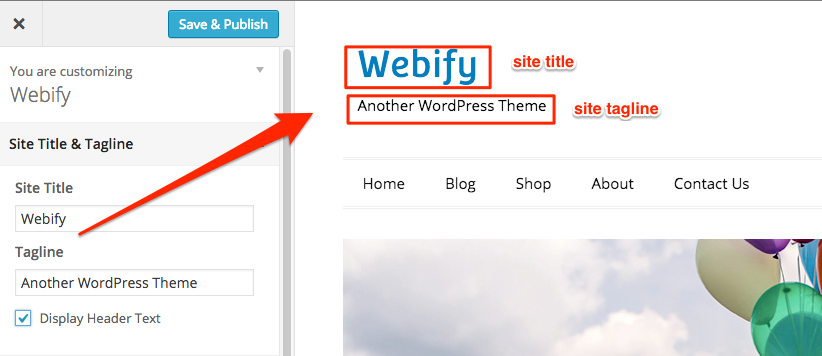
If you want to add logo of your website then you can add it in Header image section.
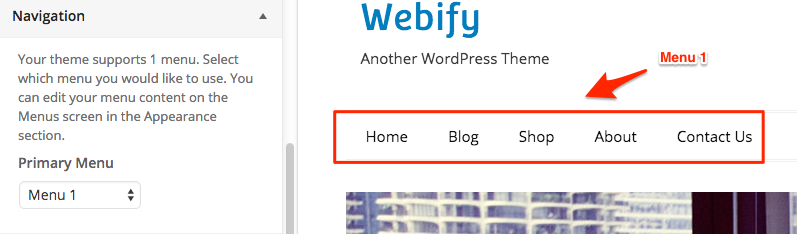
2. Navigation
Select the menu you want to display on your Home page like this:
3. Color Scheme
Webify theme gives you wide range of color options to choose from. You can choose any color from color picker that suits your business. You can see example of color scheme in below screenshot:
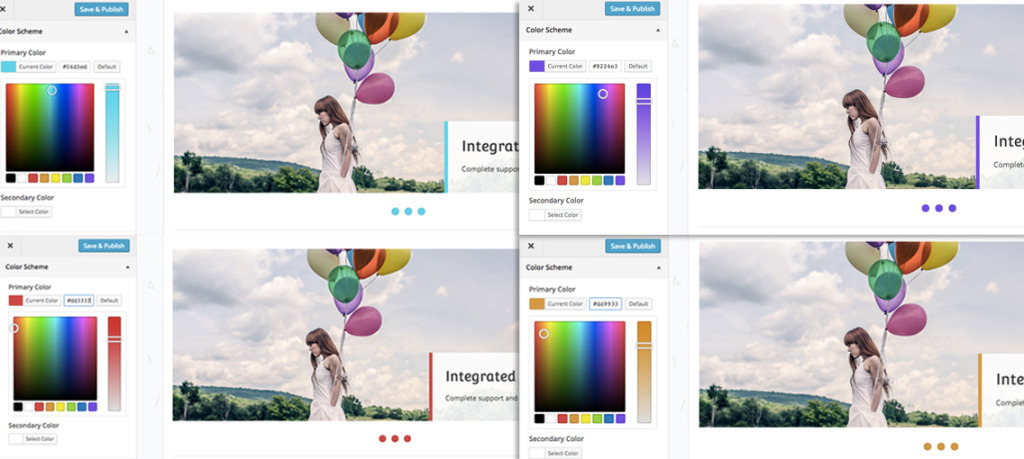
You can see the color scheme change in real time.
4. Theme layout
Theme provides you two layouts: Full width and Boxed. In Boxed layout, you can set solid background or background image to change the look of your website.
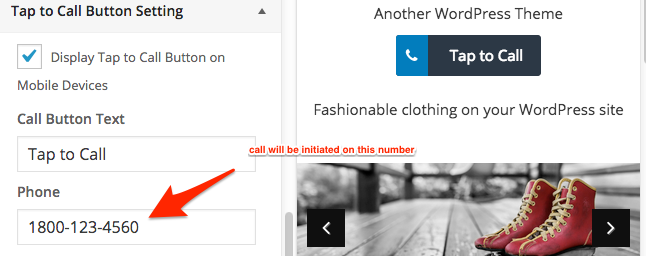
5. Tap To Call Button
When anyone access your website from mobile device, he/she will tap this button to initiate call from his/her device. You can add your phone number and enable/disable this feature.
6. Home Slider
Add slider on the home page of your website with Home slider option. The theme allows you to add 5 images on your slider. You can also add title and description of image in Home slider.
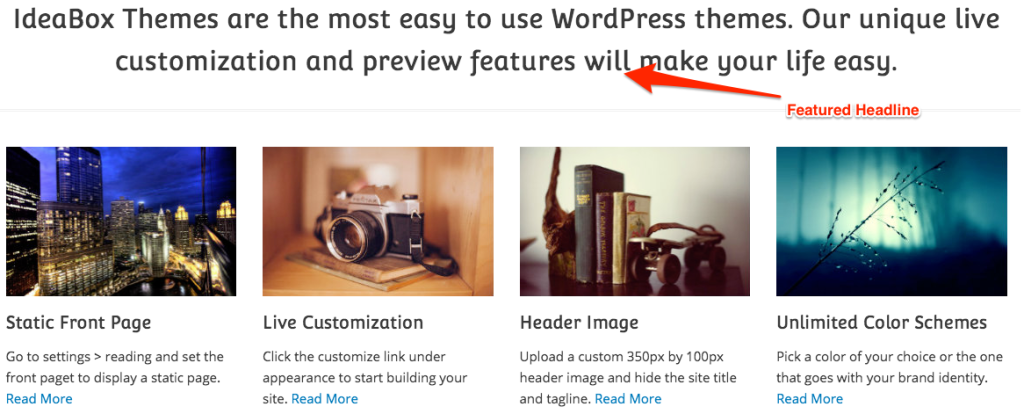
7. Featured Headline and Services
You can add Featured headline and posts on the home page of your website. This section will display important information of your business on your website. The section will look like below screenshot:
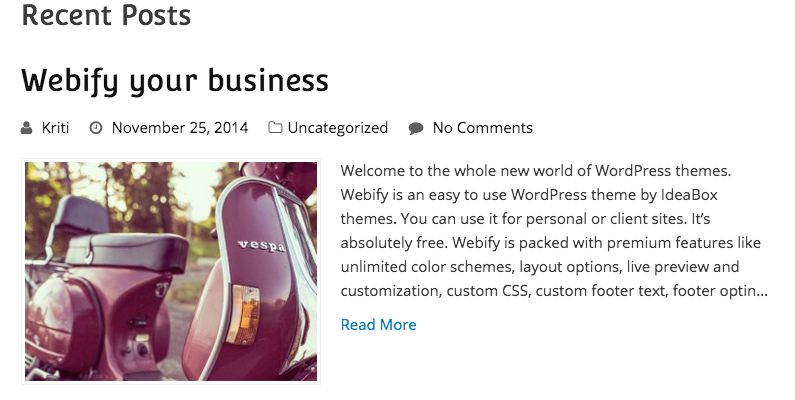
8. Featured Posts
You can add latest posts or recent posts on the home page of your website. You can also select post category that you would like to display on your home page. By default it will display 3 posts.
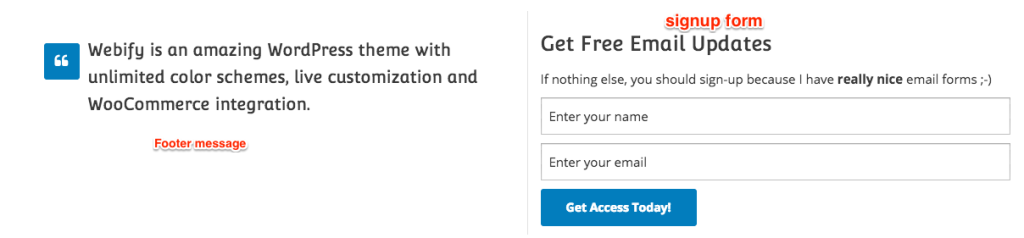
9. Footer Message and Signup Form
In Footer Message section, enter the message or add testimonials to display it on your website.
The theme also provides signup form option to increase email subscribers on your website. To add signup form on the home page of your website enter the HTML code in Signup Form section. You will see the result like below screenshot:
10. Footer Widgets, Text and Social Icons
You can add addition information in the footer section of your website using three column footer widget. There is an option of adding copyright text and social icons in the footer section.
Once you’ve completed customizing your theme, click on Save and Publish button.
If you’ve any queries related to theme or tutorial, feel free to ask via our support page or comment section.