WordPress doesn’t have built in feature that would allow admin to manage their website in terms of SEO. Thankfully, WordPress Community offers Yoast WordPress SEO plugin. It is the complete SEO solution for your WordPress website.

WordPress SEO by Yoast Plugin is one of the most popular and must have plugin for your WordPress website. With lots of exciting features and options the plugin improves your website’s SEO on all needed aspects.
In this article we’ll show you how to install and setup Yoast WordPress SEO plugin to improve your site’s performance on Search engines.
Features of WordPress SEO by Yoast
- Page Analysis functionality that checks simple things that you’re bound to forget.
- Offers you Breadcrumb functionality which allows you to create an easy navigation.
- Edit your .htaccess and robots.txt files.
- Focus Keyword testing.
- Google search result snippet preview.
- XML News Sitemaps.
- Post title and meta description option.
- Supports Facebook open graph.
Install and Setup Yoast WordPress SEO plugin
Step 1: Install the plugin
First you need to install and activate Yoast WordPress SEO plugin. See our WordPress guide on how to install a plugin in WordPress.
Upon activation you’ll new SEO menu in your WordPress Admin Area like below screenshot:

Step 2: Dashboard
When you click on SEO option in your WordPress admin area, you’ll be inside the dashboard of WordPress SEO plugin. In your WordPress SEO Dashboard you can restore all the default settings. Other than this you’ll find number of options there like:
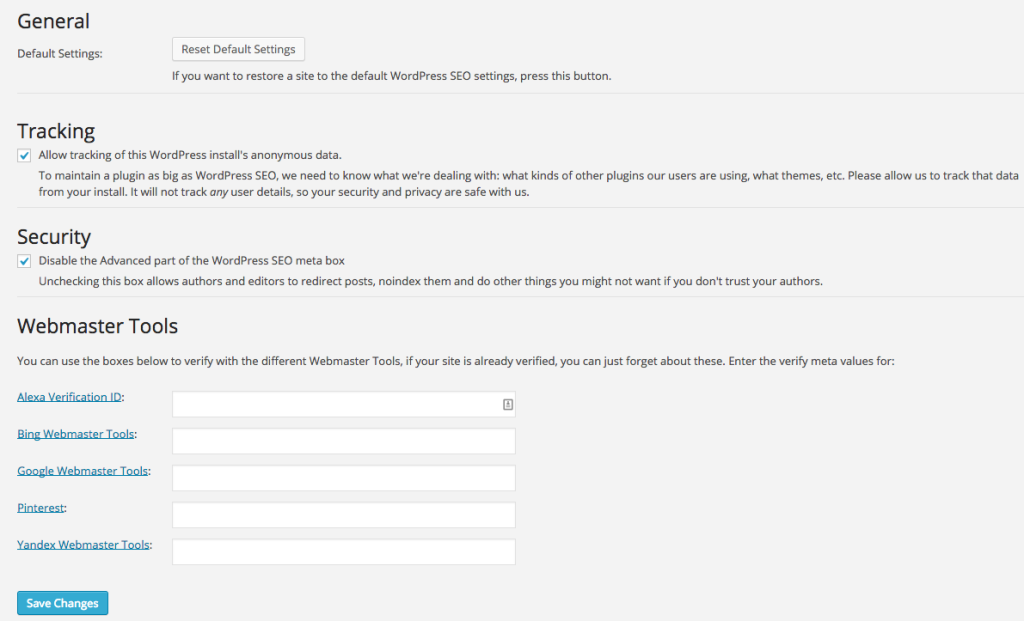
Tracking: It allows the author of the plugin to track the issues related to the plugin and sort them out in future. But for your website’s security keep this option unchecked.
Security: If you keep this option checked then it disallows authors and editors from redirecting any post from other URL. If you don’t trust your authors then keep this option checked.
Webmaster Tools: This section allows you to verify your website with different webmaster tools. If your site is already verified then simply add the meta values in the given boxes. It also provides you Alexa verification if your site has their premium subscription .
Once you’re satisfied with all your settings, click on Save Changes button to save these settings.
Step 3: Title and Metas
There are number of tabs present in Title and Metas section. We’ll explain each and every tab of this section.
1. General
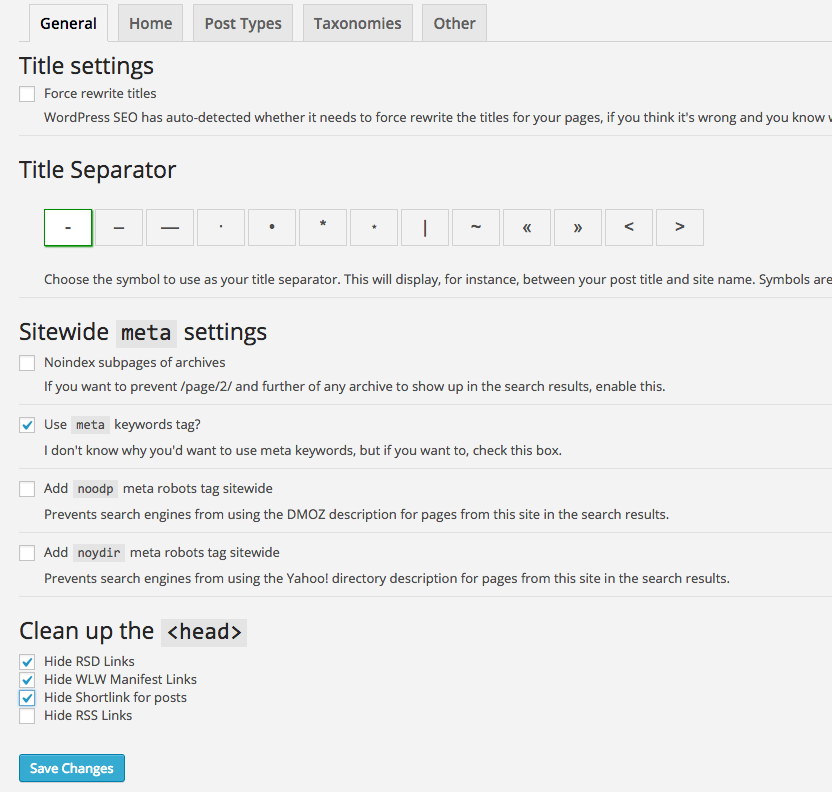
When you click on General Tab you’ll find number of options there. WordPress SEO has auto detected whether it needs to force rewrite the titles of your pages or not. You can leave this option as it is.
In Sitewide Meta Settings section, check the meta keywords tag option. This option should be checked because search engines like Yahoo and Bing gives importance to such meta keywords. You can also check other options according to your need.
Some SEO Analysts suggest to keep your site’s head portion clean. In Clean Up section check the first three options and leave RSS option because RSS helps you to increase more subscribers.
Once you’re done click on Save changes button.
2. Home
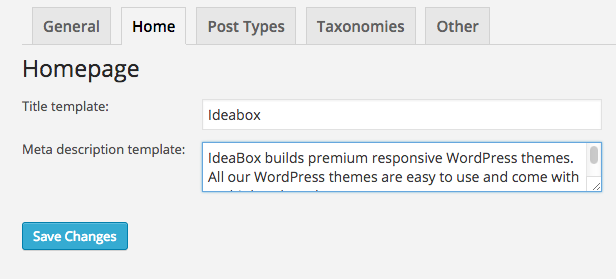
You’ve to change the settings to define the title for the homepage of your website. By default these options are already filled with title template. These title templates enables you to define a way that the title and other meta information is pulled.
Keep your title short and up to 70 characters. In Meta Description template give a short description about your website. Search Engine will display the description up to 156 characters. You can see above screenshot for example.
3. Post types
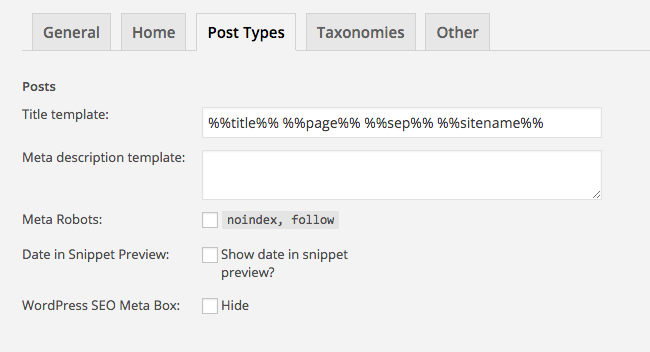
WordPress has various post types by default like post, page, revisions etc. User can also create its own custom post types. The plugin allows you to give title to each post types including Custom Post type.
The plugin automatically enters the Title template for each post type and leave other options blank. It is recommended that define your own title template and remove the site name from it.
In Meta description section enter the description manually for each post.
4. Taxonomies
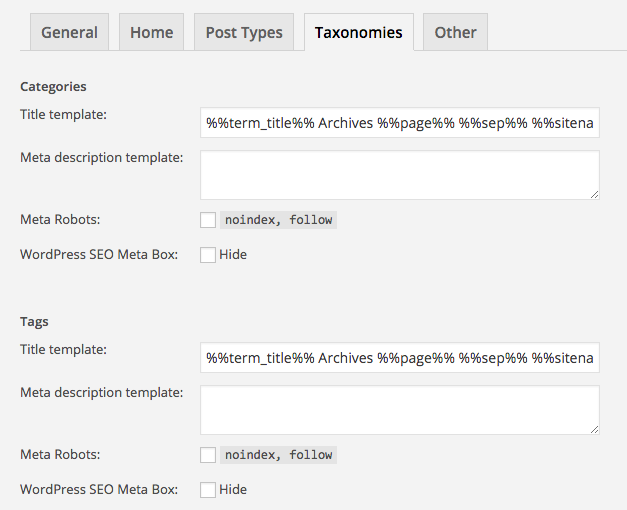
Yoast WordPress SEO plugin allows you to enter the title and meta for categories, tags and format. here also you can give title to your categories and tags. If you don’t have any description to your categories and tags then WordPress SEO won’t add any description to these categories and tags in archives.
5. Other
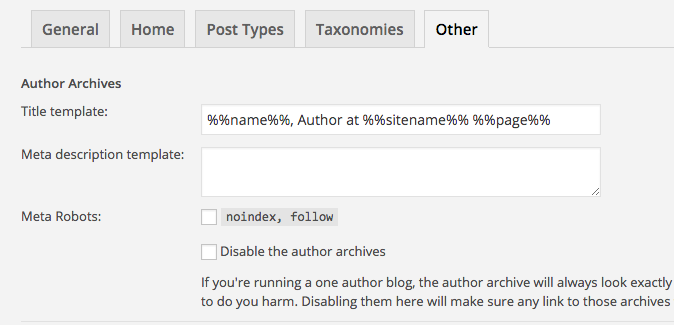
Here you can give Title and meta description for Author archives, Data Archives and Special Pages like search pages and 404 pages. Disable the author archives option under Author archives section. If you are using single author blog then your author archive will look exactly same as your homepage.
Step 4: Social
Yoast WordPress SEO plugin lets you to integrate your site with the social networks like Facebook, Google+ etc. Click on SEO >> Social in your WordPress Admin area. There you’ll see three tabs.
1. Facebook
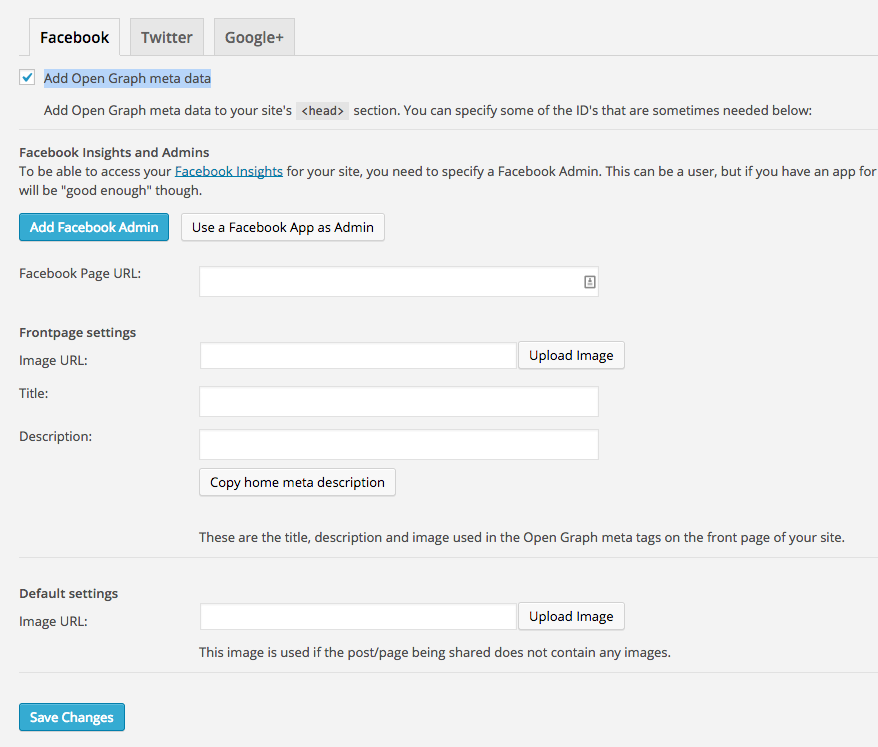
First thing you need to enable the Add Open Graph meta data option. This option add Facebook Open Graph Meta data in your header section. This option allows you to share correct content with correct thumbnail.
Next Add the Facebook Admin. This can be a user but if you’ve any app of your site then you can also use that. Now give your Facebook page URL. Next option is to add thumbnail, title and description of your homepage. This option will be used when any user share your homepage on Facebook.
In default settings section give the URL of the image. This option will be used if any of your post doesn’t have any image.
2. Twitter
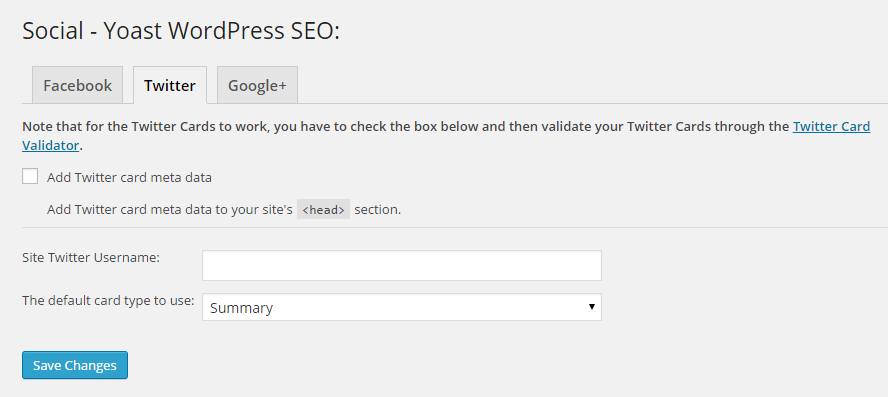
Enable Add Twitter card meta data to add twitter meta data in the head section of your site. Add your site’s twitter Username or you can also add your personal twitter username.
3. Google+
This section allows you to add Google+ Business page onto the homepage of your website. If you’ve have any Google+ page for your business then add the URL of that page in Google Publisher page option. After doing this link it to Google+ page’s about page.
Step 5: XML Sitemaps
Sitemaps are also very important for your website. These sitemaps allows you to get indexed and notify search engines about the content. Enable Check this box to enable XML sitemap functionality. If you’re running single author website then make sure to disable author/user sitemap option.

You can also enable ping Yahoo! and Ask.com otherwise WordPress will automatically ping Google and Bing. If you don’t want to appear any post types, taxonomies then you can exclude them. You can also add number of entries in your sitemaps. By default WordPress adds 1000 entries.
Step 6: Permalinks
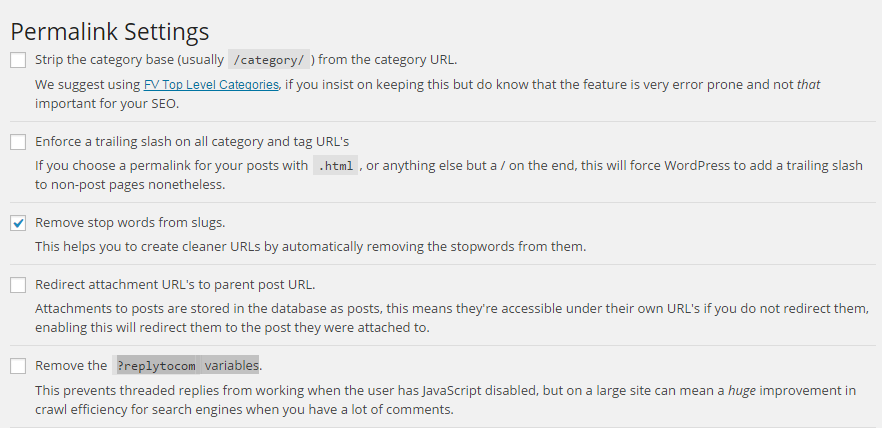
WordPress default permalink settings are different from these settings. In these settings you can configure advanced permalink setting. You can strip the word ‘category’ from the category URL because it is not that important for your SEO.
Next feature is to enforce a trailing slash on all category and tag URL’s. If you enable this option then this option will remove .html from the end of your post. The next option is to remove stop words from slug to create cleaner URLs.
With Yoast WordPress SEO plugin you can also remove ?replytocom variables. This option prevents you from threaded replies from working when user has Java Script disabled.
Leave Canonical settings as they are.
Step 7: Internal Links
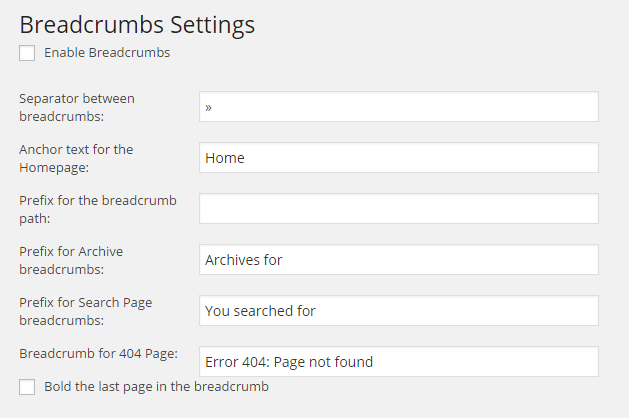
Breadcrumbs not only helps your user to navigate your site easily but also helps search engine to understand your site structure. If you’re using these settings then you also have to put the following php code to your theme:
<?php if ( function_exists(‘yoast_breadcrumb’) ) {
yoast_breadcrumb(‘<p id=”breadcrumbs”>’,'</p>’);
} ?>
First you have to enable the breadcrumbs under Internal Links settings. You can also enter the separator that you want to use between your breadcrumbs.
Step 8: RSS
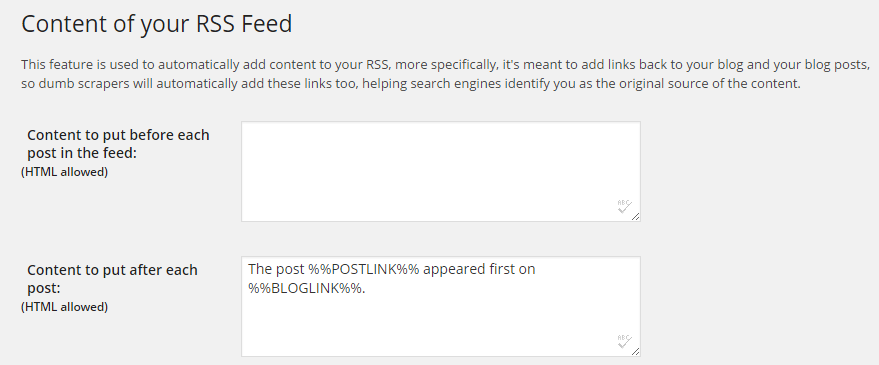
This section allows you to add backlinks to the original article in RSS feeds. You can also use this section to add advertisement to your RSS feed. You can add author link, post link, blog link etc.
Step 9: Import and Export
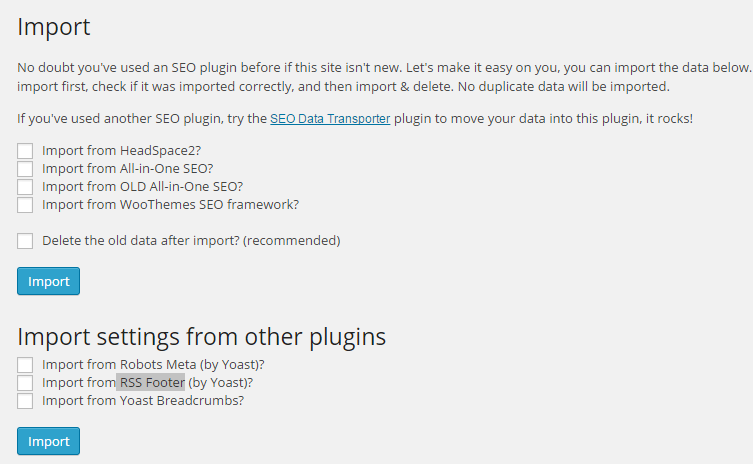
If you’re using any other plugin for SEO then Yoast WordPress SEO plugin allows you to import the data of other SEO plugin into it. It also provides you an options to import the settings from Robots Meta, RSS Footer and Yoast Breadcrumbs plugins.
You can also export the settings of Yoast WordPress SEO plugin to use them later or for another site.
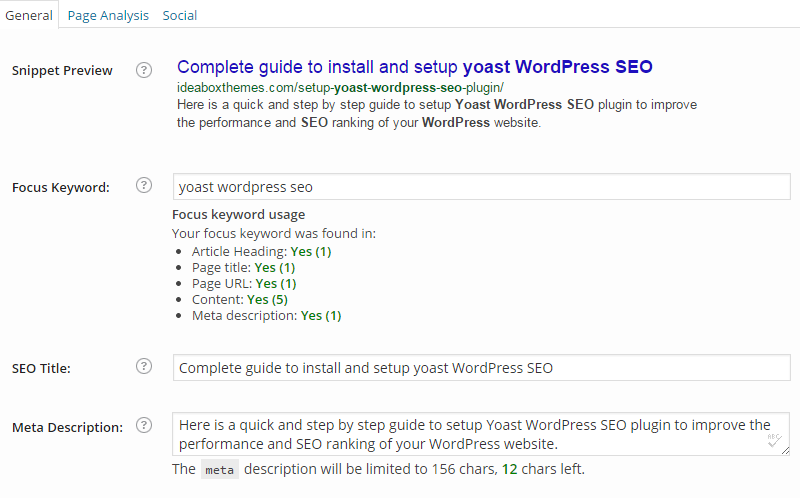
You’ll see a new block called WordPress SEO by Yoast on each post and page. There you’ll find lots of options like Snippet preview, Focus keywords, SEO Title and meta description These settings are changed everytime according to your post and page. Make sure you enter strong keyword. These focus keywords are very important factor for good SEO.
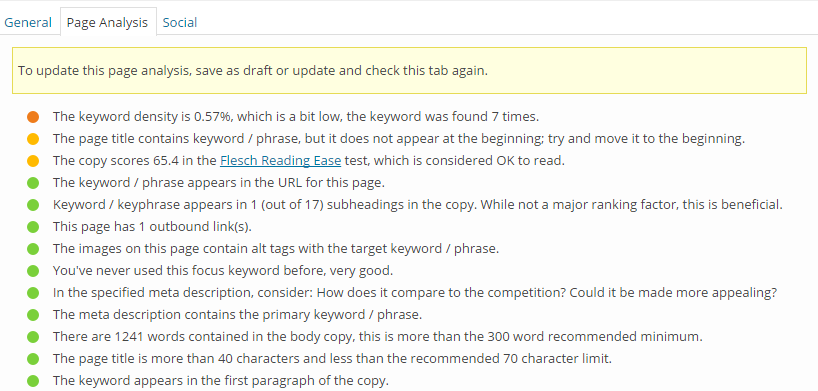
Once you save your post you’ll see page analysis tab in same block where you can analyse your SEO and improve it before publishing any article.
I hope this tutorial will help you to setup Yoast WordPress SEO plugin correctly on your website. Yoast WordPress SEO plugin is one of the best SEO plugins for your WordPress website.
Our premium WordPress themes are 100% compatible with this leading SEO plugin for WordPress. This means, you get the most out of our themes. Great design, responsive, easy to setup, live customization and SEO optimized WordPress themes.